


Most cheap lunch bags don't last a school year. They make it to about Term 3 and then something goes wrong: the zip splits, the lining tears, the foam packs down to almost nothing, the strap fails at the stitching. By December, the bag is in the bin and you're starting next year with a new one.
The four parts that fail first, in roughly the order they tend to go: the zip, the stitching at the corners, the lining, and the insulation. Knowing what to look for at each of those points is the difference between buying a bag once and buying a bag every year.
The zip
The zip is the part of the bag that gets used the most. A school lunch bag gets opened and closed at least twice a day - once at lunch, once when the bag comes home. Plus the after-school snack rummage. Plus the morning packing. By the end of one term, the zip has been operated 200 to 300 times.
Cheap nylon-coil zips don't survive that. They start to feel sticky after a few months, and then one day a tooth pops out and the bag is done. Replacing a zip on a soft lunch bag isn't really economical - it costs more than buying a new bag.
What to look for: branded zip pulls (YKK is the gold standard), metal zip teeth or chunky moulded plastic teeth, and a smooth feel when you run the zip up and down a few times in the shop. If the zip already feels rough, that's the bag's worst day. It only gets worse from there.
The stitching at the corners
The corners take the most stress. Every time the bag gets dropped, thrown, or jammed into a backpack, the corners absorb the impact. Corners are also where the bag transitions between two materials (the side and the base) and where multiple seams meet.
Cheap bags have single-line stitching at the corners. Better bags have double-stitching or bar-tacked corners. The best bags have reinforced binding tape covering the seam, which prevents fraying and adds a layer of structural integrity.
You can see this in the shop without taking the bag apart. Turn it inside-out, look at the corner seams. If you can see daylight between the stitches when you stretch the seam slightly, the bag won't last. If the seam is taut and even, the bag has been built properly.
The lining
The lining is the inside of the bag - the part that touches the food. It's also the part most often overlooked when buying.
Cheap linings are usually a thin metallised PEVA or polyester. They tear easily, especially at the corners and along seams. Once the lining tears, food and condensation get into the foam layer, the foam starts holding smells, and within months the bag has a permanent off-fragrance that no amount of cleaning will remove.
Better linings are heavier, food-grade, and welded at the seams rather than stitched. A welded seam means liquid can't seep into the insulation. The bag stays cleanable for years.
The test in the shop: feel the lining. If it crumples like cheap kitchen foil, it'll tear. If it has a slight heft to it and feels closer to a coated fabric, it'll last.
"I bought what I thought was a decent lunch bag for about thirty-five dollars at the start of the year. By the end of Term 2 the lining had ripped along one seam and the inside started smelling like old fruit no matter how many times I washed it. Replaced it with a better-quality one mid-year and that bag is now into its third school year. Genuinely paid for itself by month two."
- Jess B., Wollongong
The insulation
The foam layer is sandwiched between the outer fabric and the inner lining. You can't see it, but you can feel it through the bag.
What kills insulation is compression. Every time a bag gets squished into a backpack, the foam compresses. Cheap foam doesn't fully recover. After a few months of daily packing, the foam has lost half its loft, which means the insulation is doing half the work it used to do.
Higher-density foam holds its loft for years. You can identify it by squeezing the bag through the lining: better foam has a springiness to it, cheap foam feels flat and stays flat after you let go.
The other test: hold the open bag up to a light. A well-insulated bag has thick, even walls. A cheap one might have visible thin spots, especially in the corners where the foam wasn't fully cut to size.
The straps and handles
Less critical than the four above, but worth noting. Cheap bags often have webbing straps stitched directly to the outer fabric. The stress goes into the fabric and eventually rips out.
Better bags have straps that are sewn into a structural seam (where the side panel meets the top edge, for example), or attached via reinforced D-rings. The strap stress goes into the seam, not the fabric panel, which is far more durable.
The full system
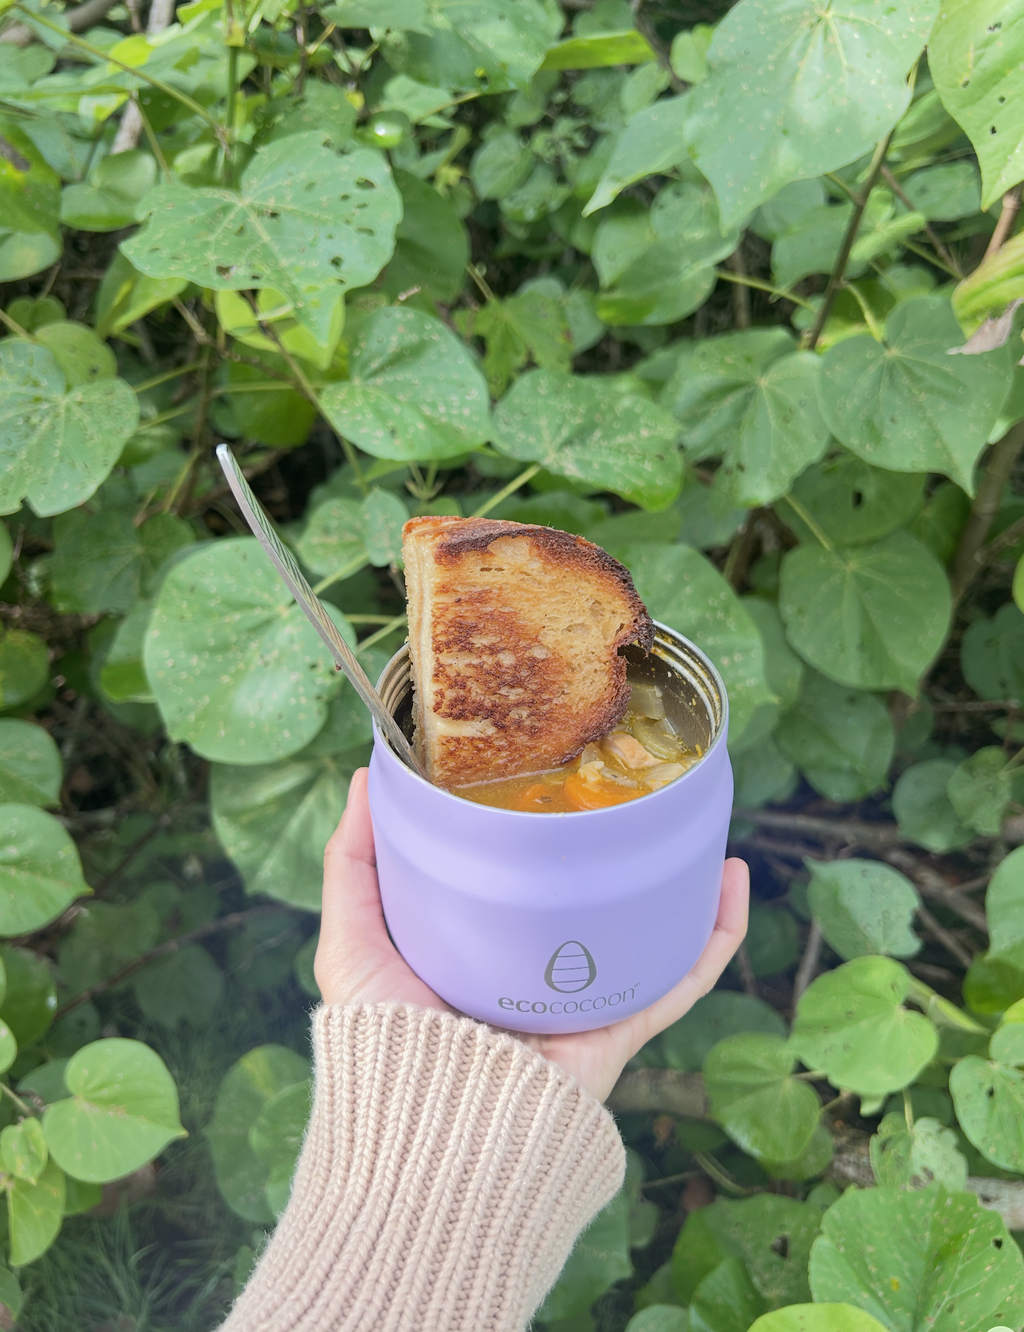
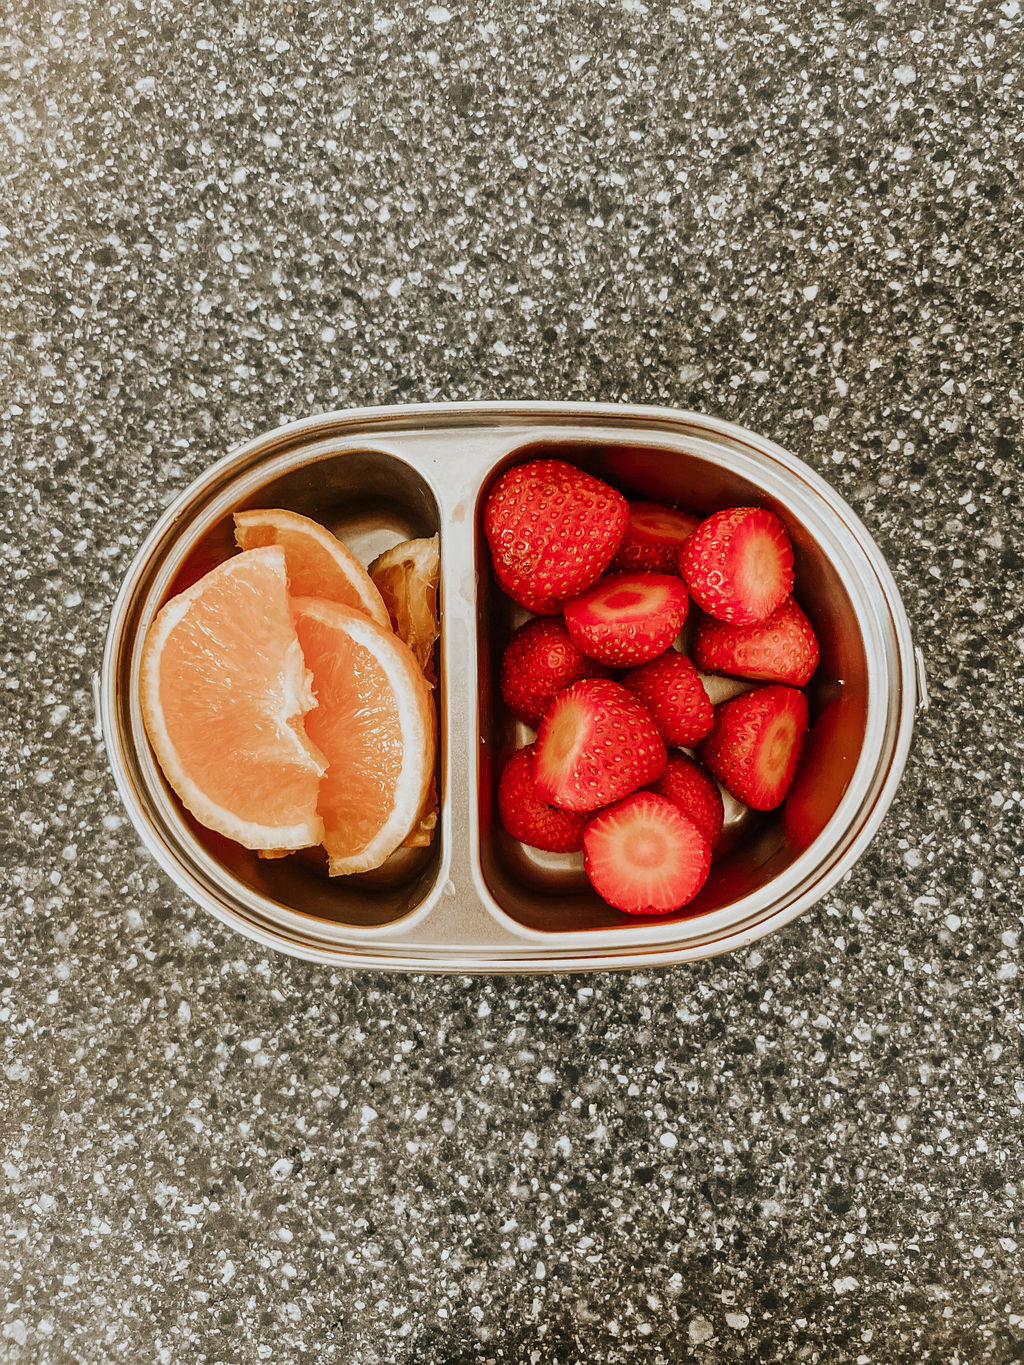
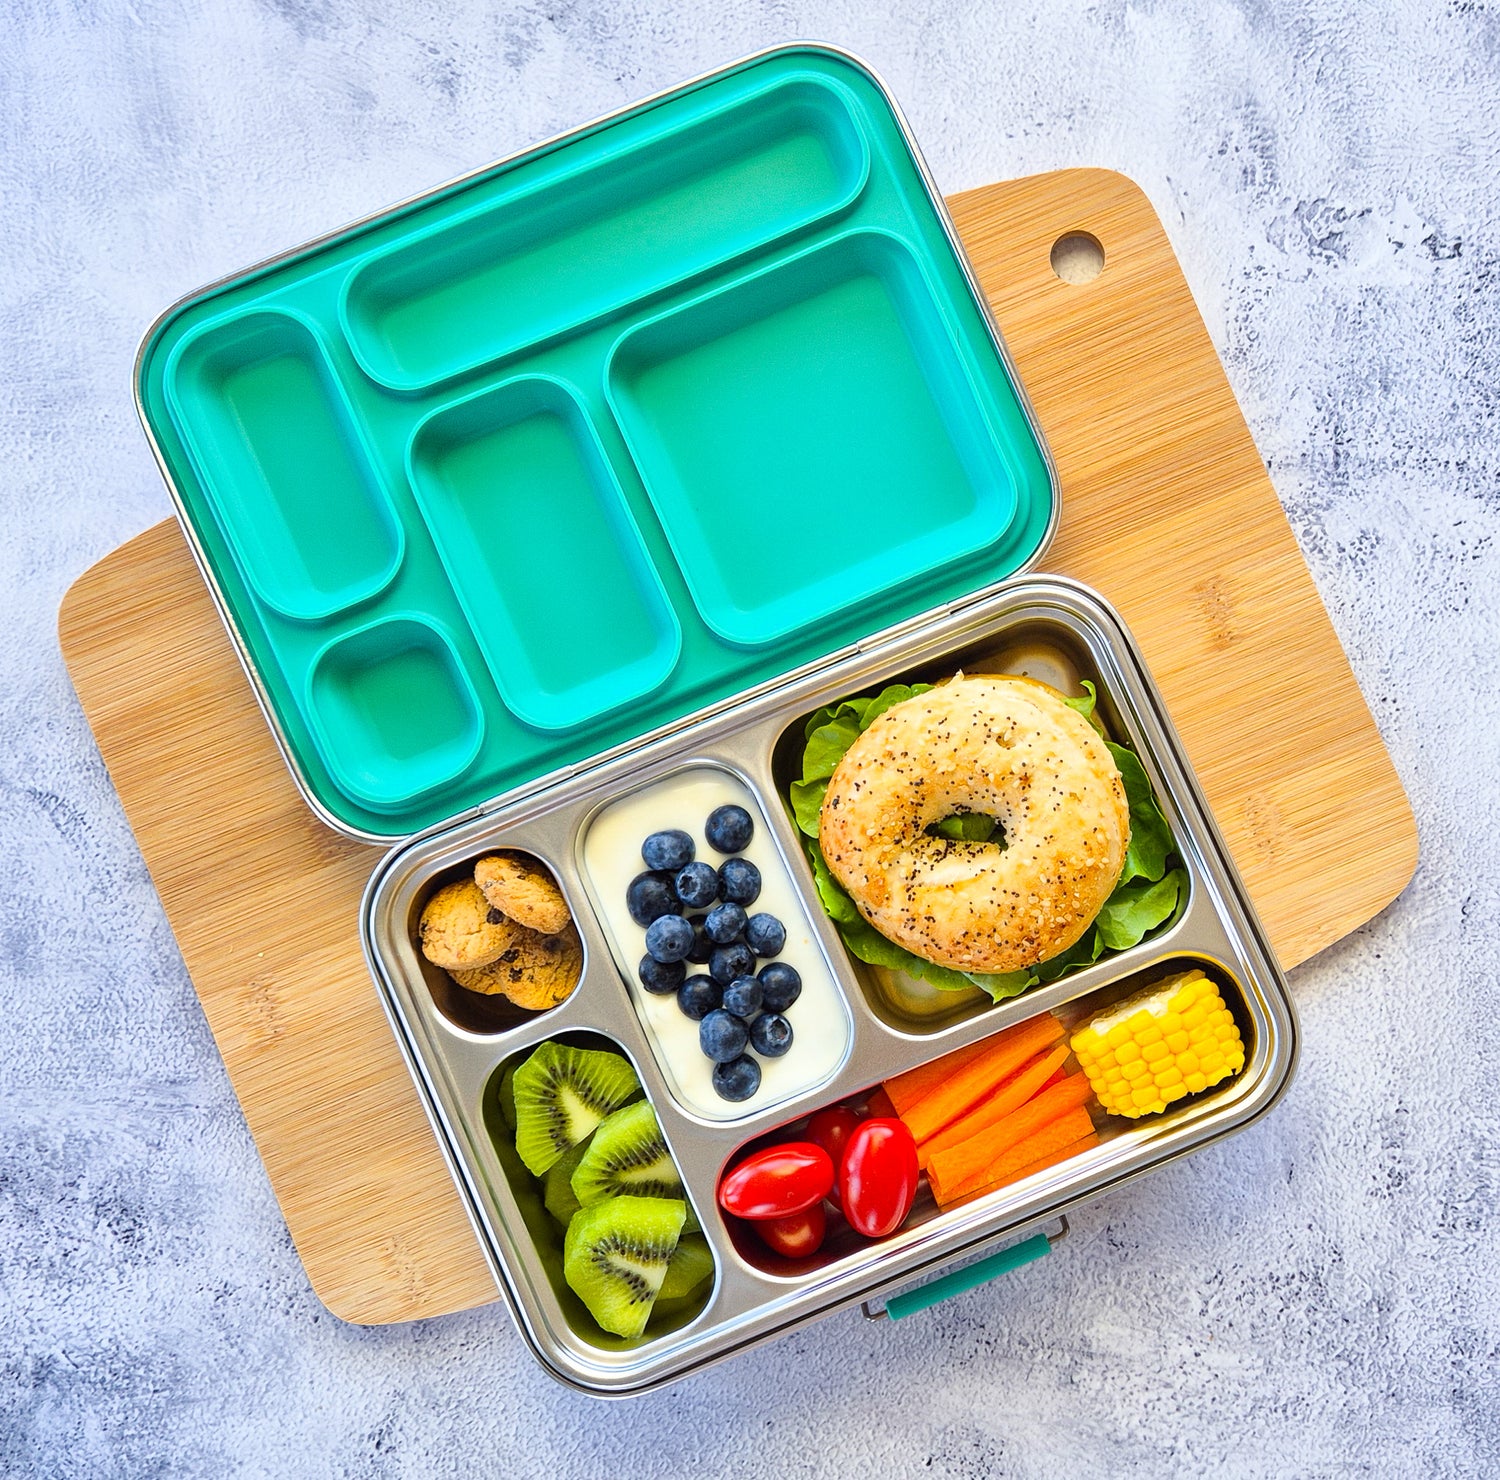
A bag that lasts a school year is part of a system that lasts even longer. A good insulated lunch bag paired with a stainless steel bento lunch box and a stainless steel water bottle is a kit that, with a small annual seal replacement here and there, can last from Prep through Year 6.
The maths: $50 - $80 spent once on a quality bag, $40 - $60 on a quality bento, $30 on a bottle. Total: under $200, replaced once across seven years. The cheap version: $25 a year on a bag that fails, $20 a year on a plastic container that warps, $15 a year on a bottle that leaks. Same time period, same use, but every year is a fresh purchase.
The honest verdict
Most parents underbuy the bag at the start of school because they're not sure what they need. By Year 2 they've replaced it once, by Year 4 they've replaced it twice, and by Year 6 they've spent more than the good bag would have cost in the first place.
The four points to check are: zip, corners, lining, foam. Every one of those is visible in a shop or in product photos online, and every one of those tells you whether the bag has been built to last or built to be replaced.
The bag that survives a school year is the bag that costs less, not more, when you actually do the maths.